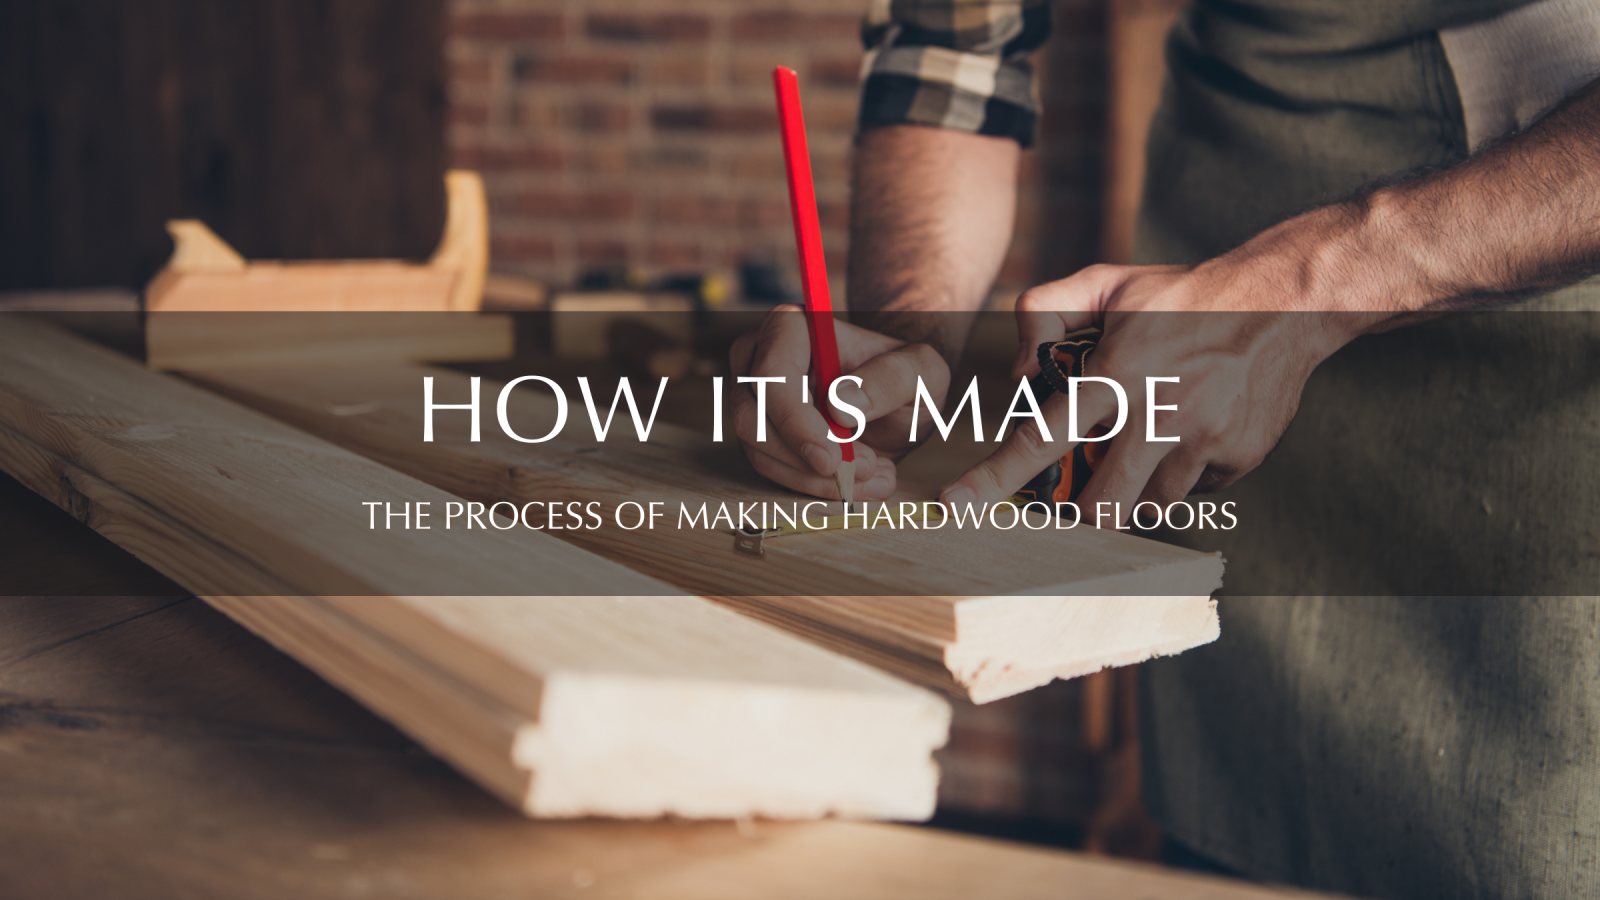
How Hardwood Floors Are Made
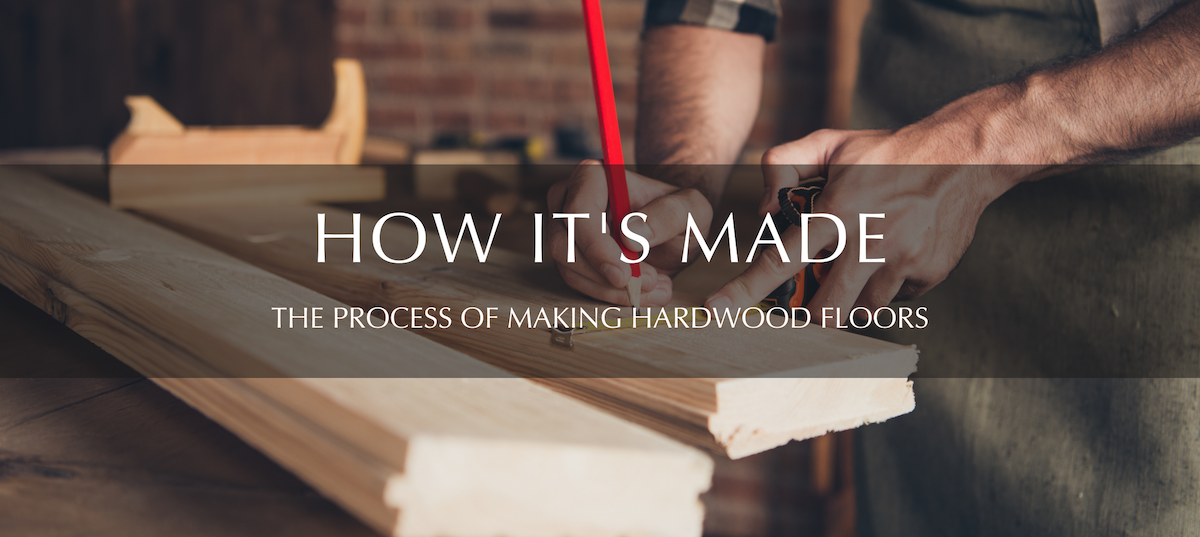
Hardwood flooring is a timeless choice for homeowners seeking beauty, durability, and value. But have you ever wondered how hardwood floors are made? Understanding the manufacturing process can help you appreciate the craftsmanship that goes into every plank and give you confidence in your investment.
In this article, we’ll explore how hardwood floors are made, from sourcing the wood to the final finish that protects its surface.
Sourcing Quality Hardwood
Hardwood floors start with raw materials harvested from trees. Common species for hardwood flooring include European Oak, White Oak, Maple, Walnut, Birch, and Hickory, though many other varieties are also available. Trees used for hardwood flooring are typically 50 to 100 years old to ensure maturity and durability.
Most harvesting occurs during winter when sap production is minimal, ensuring better moisture control in the wood.
The Manufacturing Process: How Hardwood Floors Are Made
Here’s a step-by-step look at the process that turns raw logs into beautiful hardwood flooring:
Step 1: Cutting Logs into Planks
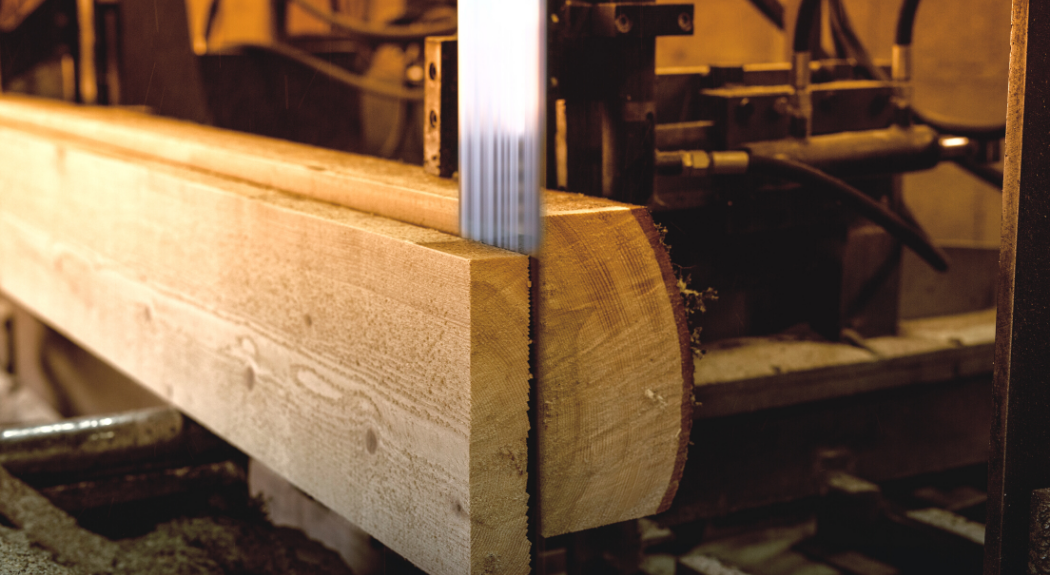
Once trees are harvested, the logs are transported to sawmills. At the mill, a large saw cuts the logs into planks of varying thicknesses. For flooring, the standard thickness is between 3/4 and 1 inch.
Step 2: Sorting by Species
The freshly cut planks are sorted according to wood species. Oak, maple, and walnut are among the most popular species chosen for their unique grain patterns and hardness levels.
Step 3: Drying the Wood
Drying is a crucial step in making hardwood floors. The planks are placed in kilns where controlled heat removes excess moisture. Proper drying prevents warping, splitting, or cracking later on.
Step 4: Planing for Uniform Thickness
Once dried, the planks are planed to ensure uniform thickness. This process smooths the surface, making the wood ready for precision milling.
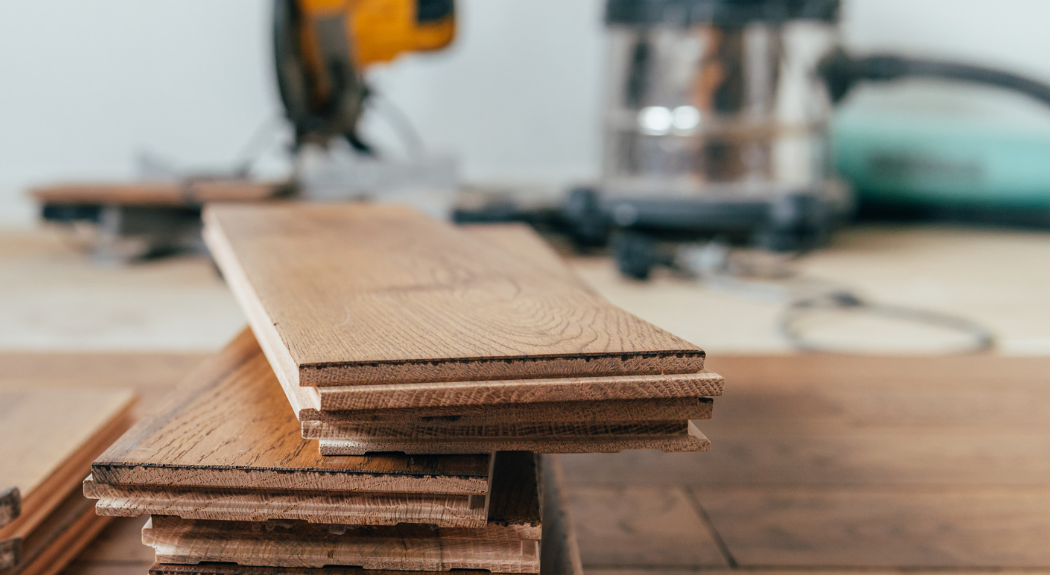
Step 5: Cutting the Tongue-and-Groove System
To make installation easier and more secure, a tongue-and-groove profile is cut into each plank. This design allows the boards to fit together tightly, preventing gaps and movement after installation.
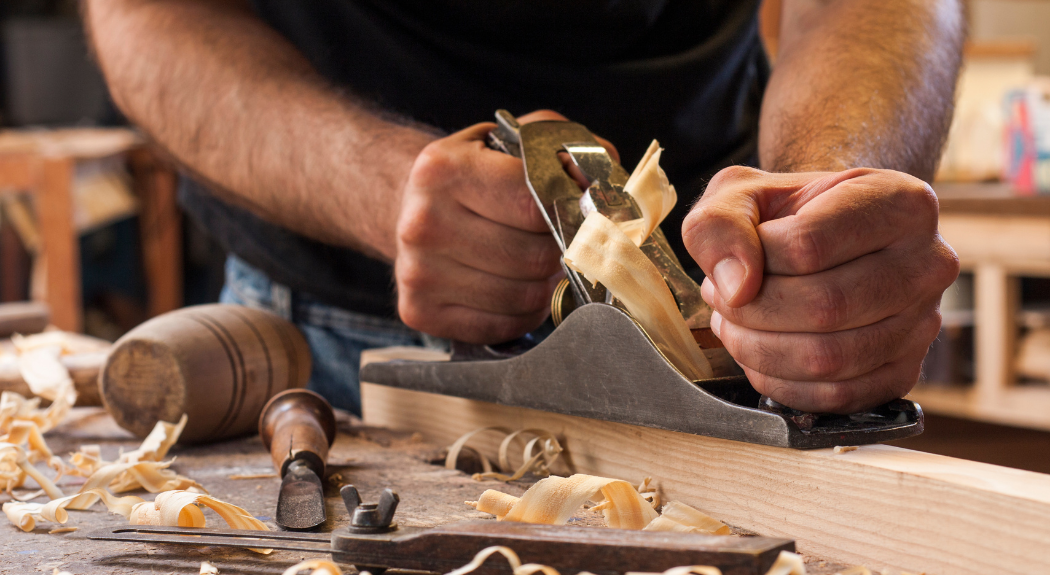
Step 6: Sanding for a Smooth Surface
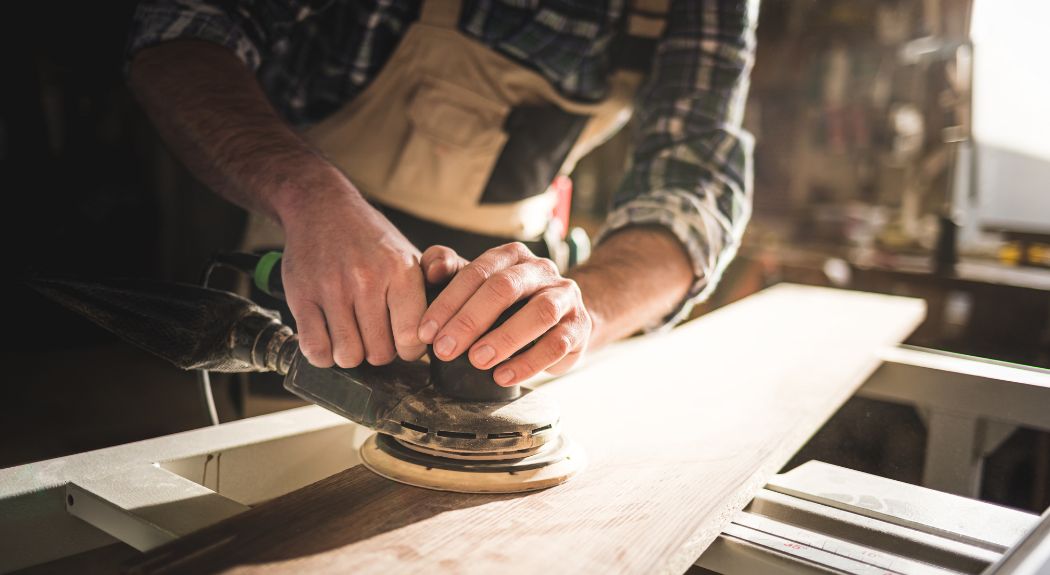
Sanding removes any remaining imperfections on the wood surface. Some planks are hand-sanded, while others are processed through machines to achieve a smooth, even finish.
Step 7: Staining for Color
If the flooring is prefinished, stain is applied to achieve the desired color. Different stain options highlight the natural beauty of the wood grain while offering a variety of hues to match any interior design.
Step 8: Applying a Protective Finish
After staining, a durable sealant or protective coating is applied. This finish protects the floor from scratches, wear, and moisture, enhancing its longevity and appearance.
Step 9: Preparing for Installation
Once the finish has dried, the hardwood planks are ready for installation. Prefinished hardwood floors undergo additional quality control checks before they reach the consumer.
From Raw Wood to Refined Beauty
The entire process of making prefinished hardwood flooring—from cutting raw logs to applying the final seal—takes about two weeks. The craftsmanship involved ensures that the floors you install in your home will offer timeless elegance and durability for decades.
Learn More About Your Hardwood Floors
If you have more questions about how hardwood floors are made or want to explore beautiful hardwood options for your home, contact us today. Our flooring specialists are here to guide you through every step of your flooring journey.